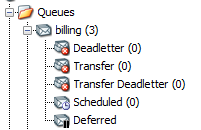
Special subqueues
Each Azure Service Bus queue has several subqueues. There’s no possibility to create your own custom subqueue like you can in MSMQ. Also, there’s no journal like we have in MSMQ to keep all received messages (if turned on). There are no outgoing nor 3 system MSMQ queues. Let’s see what we do have.
Azure Service Bus Deadletter
It works more or less like MSMQ’s system deadletter queue – messages than for some reason can’t be handled are moved there. The main difference is – MSMQ has two deadletter queues for entire machine (one for transactional, and one for non-transactional messages) and all messages end up there, while Service Bus has separate deadletter for each queue.
There could be various reasons why message ends up in a deadletter queue. Maybe it failed too many times, expired, or even manually deadlettered by receiving application for business reasons (e.g. product is no longer sold). Thankfully, each message ends contains a reason why it was moved there, and that can be seen from QueueExplorer:

Transfer and Transfer Deadletter queues
Apart from deadletter queue, each queue also has Transfer and Transfer Deadletter queues. These queues are used while messages is forwarded by Azure or if it’s a part of transactional operation spanning multiple queues.
Scheduled and deferred messages
These two are NOT real subqueues. They are just a way for QueueExplorer to show these special messages separate from regular ones. These messages also reside in main queue but they’re not visible by regular Receivers. That’s why it’s more convenient to see them separated. We’ll talk about them in next part of this series.
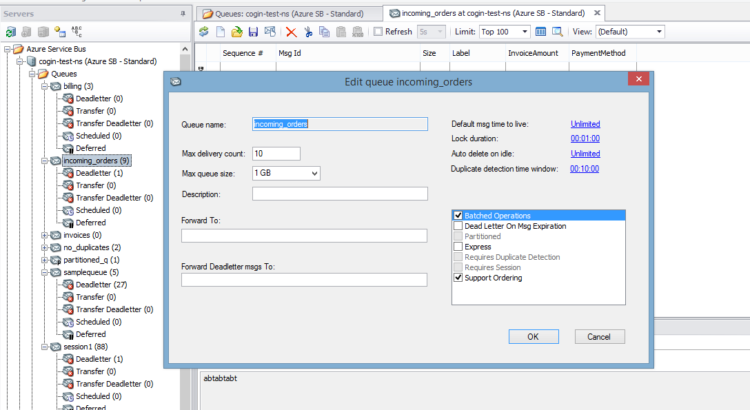
Queue Properties
There are some properties which affect how queues behave in a significant way, and we should really know when we should use them and when not.
Partitioned queues
When you turn on “Partitioned” when you create a queue, it will be split into fragments and hosted on multiple machines. Partition consists of 16 machines on Standard ties. Partitioning affects size, and you’ll get 16 times bigger queue in that case. Partitioning also improves throughput and reliability, since Service Bus can work with multiple machines in parallel, or even continue operations if some of queues are down. However, it brings a problem with the order of messages – when you perform Receive operation, Azure Service Bus will pick one of the fragments more or less randomly and get you a message from top of it. So if order is important, you’ll have to use Sessions, which we’ll discuss next.
You can affect how your messages are distributed to these fragments using partition key. Partition key can be set manually, or taken from Session or Message Id. If you want some subset of messages to be stored on same fragment, e.g. to keep their ordering, you should set same partition key on each one. In other cases it’s better that Azure handles this distribution, first – to make sure fragments are filled up evenly, and second – to allow messages to be sent to a queue even if some fragments are down.
You can choose whether queue is partitioned only when it’s created, it can’t be modified later.
Session queues (i.e. Require Session)
Sessions allow you to group multiple messages by giving them the same session id. That way, you can handle all connected messages together, without interfering with other sessions and their receivers even if they all work in the same queue. Also, messages within a session will be ordered. For partition queues, all messages with the same session will be stored on the same partition and thus won’t be randomly ordered when you receive them.
If you need to store something that should be shared for entire session, each session has a state – it’s a binary storage where you can put whatever you want. Same as with Partition mode, whether queue uses Sessions can be configured only when it’s created.
Max delivery count
This is a number which represents how many times receiving of a message can fail. After that, Azure Service Bus automatically moves that message to deadletter queue. Default is 10. This number is a tradeoff. If we set it too low, some messages will end up in deadletter queue because of some short temporary issues. If it’s too high, a message which has permanent issues could stay on top of the queue for too long, blocking our processing.
We’ll talk more about this in next post.
Links to all 5 parts of this series.